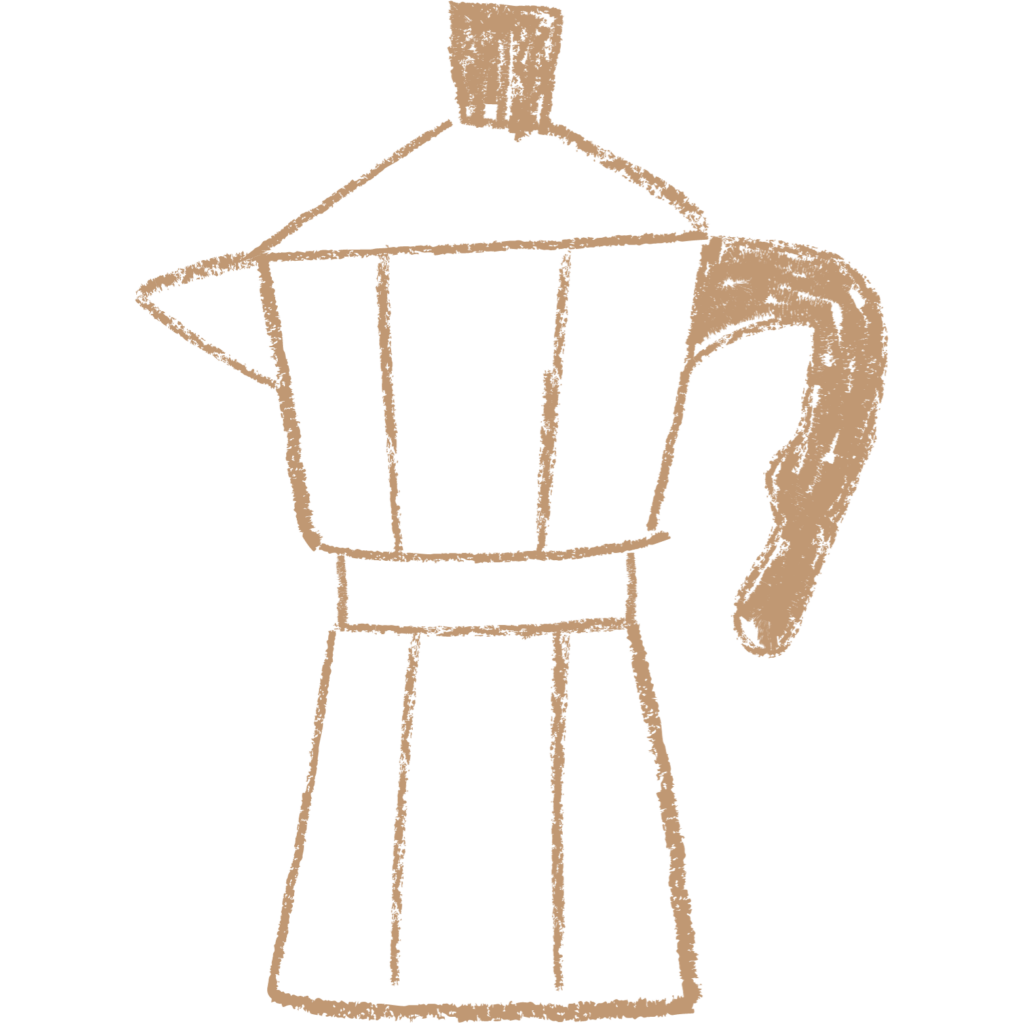
The stovetop Moka pot, also known as a Moka espresso maker, is a classic and easy way to brew a strong and flavourful coffee with a rich crema-like texture. This method is ideal for those who love espresso-like coffee without the need for a pricey espresso machine. Here’s how to use it:
Coarsely ground FabFour coffee beans – Stovetop Moka pot – Cold water – Stovetop or hotplate
1. Fill the Bottom Chamber:
Begin by unscrewing the Moka pot into three parts: the bottom chamber (where the water goes), the middle filter basket (where the coffee grounds go), and the top chamber (where the brewed coffee collects). Fill the bottom chamber with cold water, up to the safety valve.
2. Add Coffee Grounds:
Place coarsely ground coffee into the filter basket, filling it evenly but without pressing down. Level it off with your finger for a consistent brew.
3. Assemble the Moka Pot:
Assemble the Moka pot by attaching the filter basket filled with coffee to the bottom chamber. Ensure a snug fit but avoid pressing down on the coffee grounds.
4. Heat on Stovetop:
Place the Moka pot on a stovetop or hotplate over medium-low heat. Be patient and keep the lid open to monitor the brewing process.
5. Wait for Brewing:
As the Moka pot heats up, the water in the bottom chamber will begin to boil and create pressure. This pressure forces hot water through the coffee grounds in the filter basket and into the top chamber. You’ll hear a gentle gurgling sound, indicating that the coffee is brewing.
6. Remove from Heat:
Once the gurgling sound diminishes, indicating that most of the water has passed through the coffee grounds, remove the Moka pot from the heat source immediately. Overheating can lead to bitter coffee.
7. Serve and Enjoy:
Pour the brewed coffee into your favorite cup or espresso shot glasses. Moka pot coffee is strong, so it’s often served as a shot or mixed with hot water for an Americano. Customize your brew with sugar, cream, or enjoy it as is.
8. Cleanup:
After the Moka pot has cooled down, disassemble it, discard the used coffee grounds, and rinse the parts thoroughly. Avoid using soap, as it can affect the flavor of future brews.
That’s it! You’ve successfully brewed a flavorful coffee using a stovetop Moka pot. Adjust the amount of coffee and heat to achieve your desired strength. With a little practice, you’ll become a Moka pot master and enjoy espresso-like coffee in the comfort of your home.
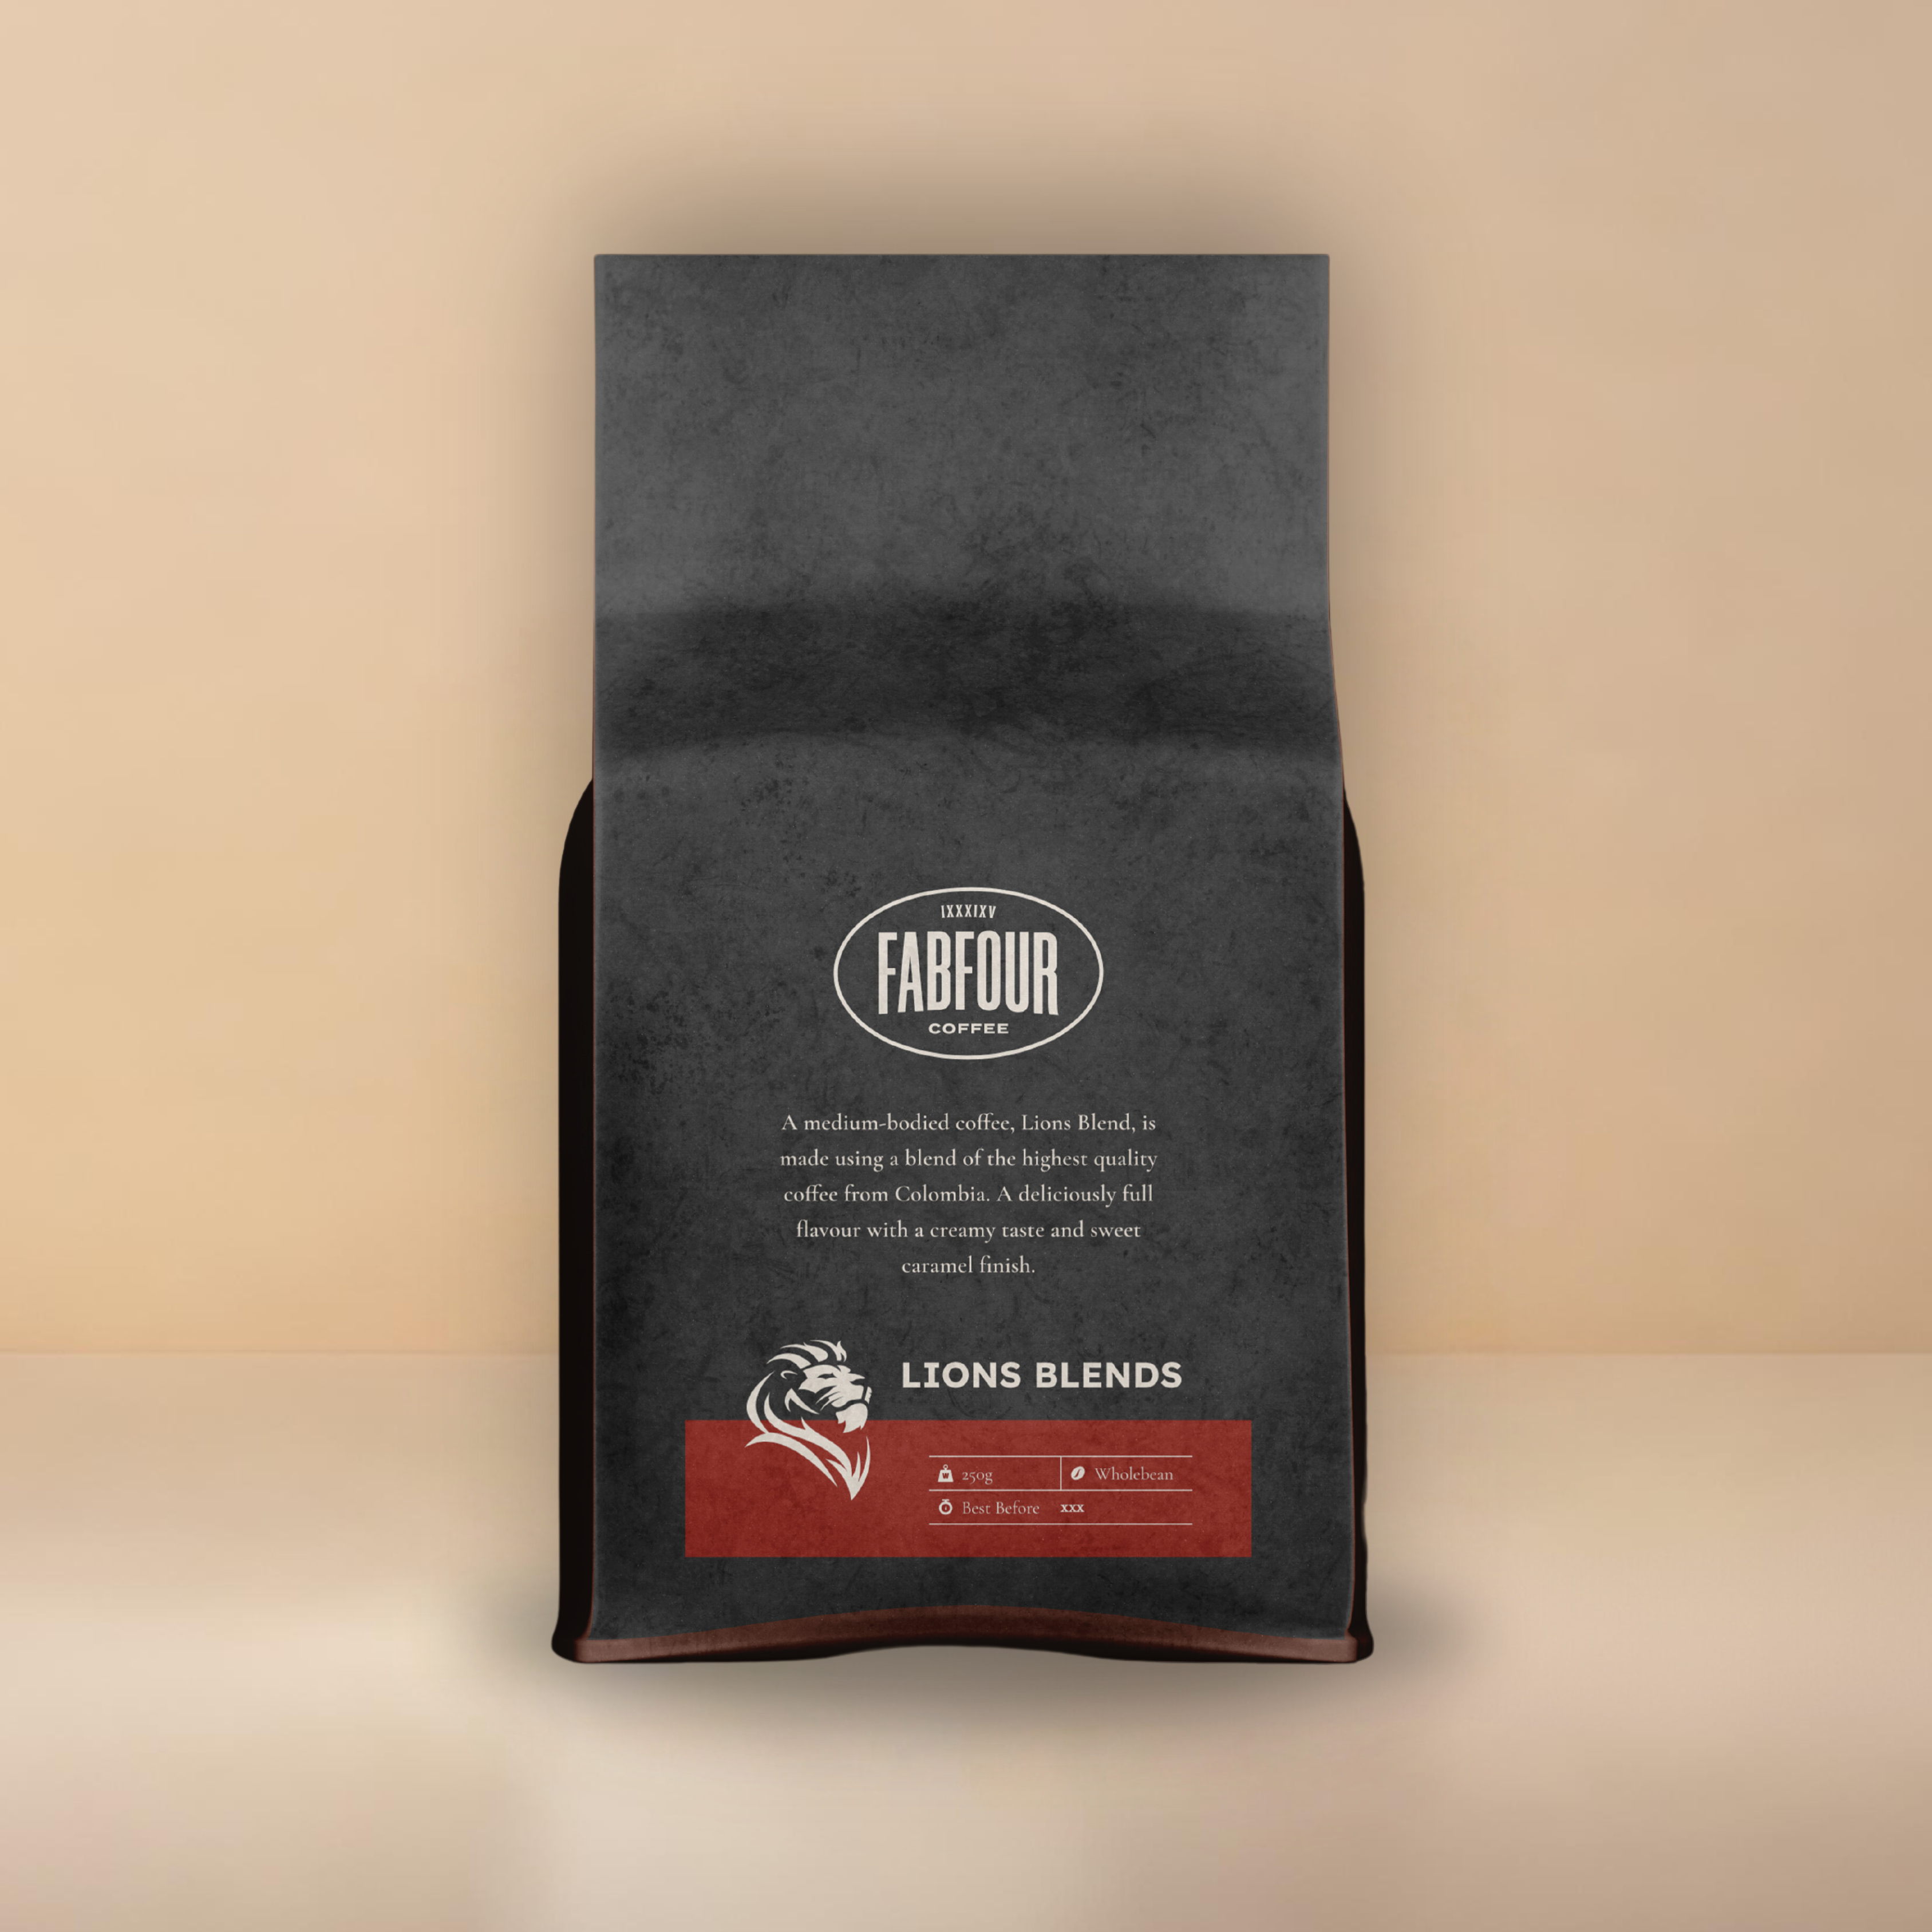
Top-grade coffee sourced from seasonal coffee regions throughout the world roasted in the heart of UK.
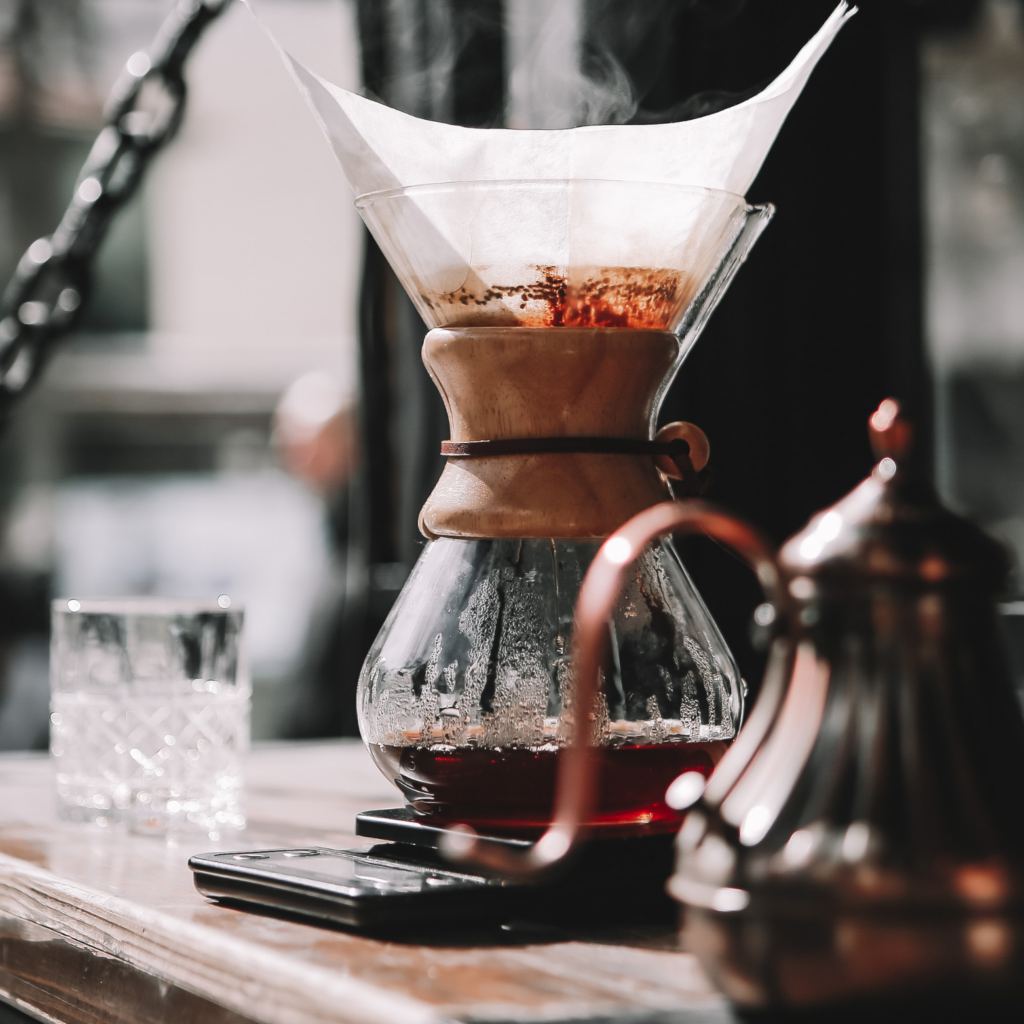
Pour-over coffee is a straightforward and satisfying method for brewing coffee at home. With minimal equipment required, it’s an excellent choice for coffee lovers looking for a hassle-free way to enjoy a fresh cup. Here’s how to do it:
Freshly roasted coffee beans – Pour-over cone or dripper – Paper coffee filter – Kettle – Coffee grinder (optional but recommended)
1. Boil Water:
Start by boiling water. Once it reaches a rolling boil, remove it from the heat source and let it cool for about 30 seconds. The ideal temperature is around 200°F (93°C).
2. Prepare the Filter:
Place a paper coffee filter into your pour-over cone or dripper. Rinse it with a bit of hot water to remove any paper taste and to preheat the cone. Discard the rinse water.
3. Measure and Grind Coffee:
Measure your coffee beans. A standard ratio is about 1 to 2 tablespoons of coffee for every 6 ounces of water, but adjust to your taste preference. If you have a coffee grinder, grind the beans to a medium-coarse consistency, similar to sea salt.
4. Add Coffee Grounds:
Put the ground coffee into the rinsed filter, creating an even bed of coffee.
5. Begin Pouring:
Place your pour-over cone or dripper over your coffee cup or carafe. Start pouring hot water over the coffee grounds, beginning in the center and spiraling outwards. Pour slowly and steadily, ensuring all the coffee is evenly saturated. Pause occasionally to allow the coffee to bloom, releasing its flavors. Continue pouring until you’ve reached your desired coffee volume.
6. Enjoy:
Remove the pour-over cone, and you’re left with a fresh and aromatic cup of coffee. Sip and savor the rich flavors you’ve brewed right at home. Adjust the coffee-to-water ratio and pouring technique to suit your taste, and you’ll soon become a pour-over coffee pro!